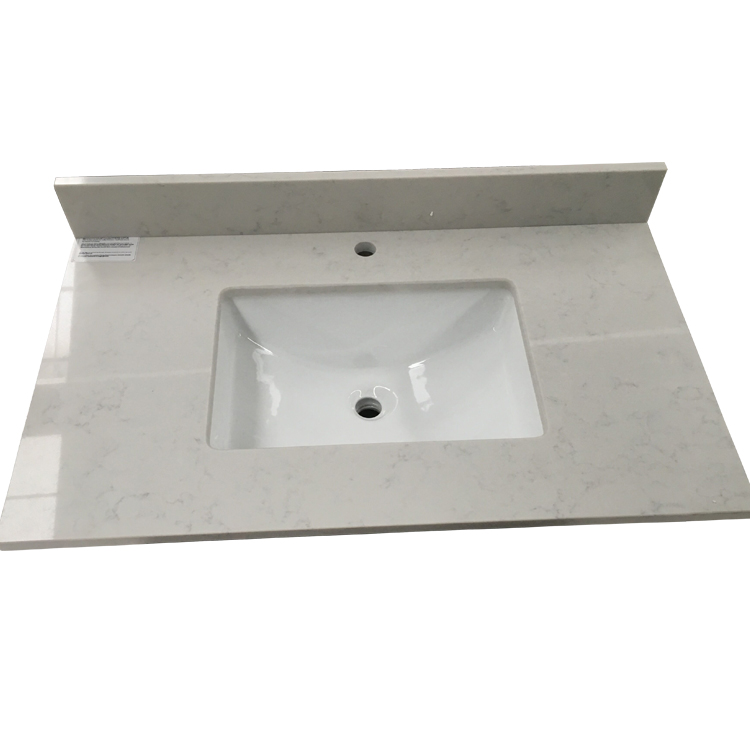
Install a new vanity top in your bathroom to transform the room and make it look like new with help from the experts at EXCELLENT STONE.
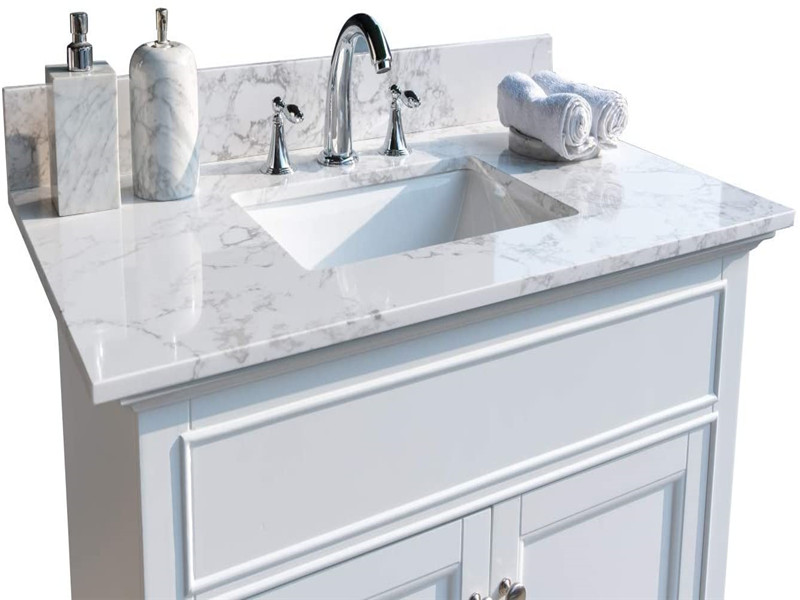
We think our “all in one”bathroom vanity top will help you and offer you with convenience.
What is “all in one”vanity top?
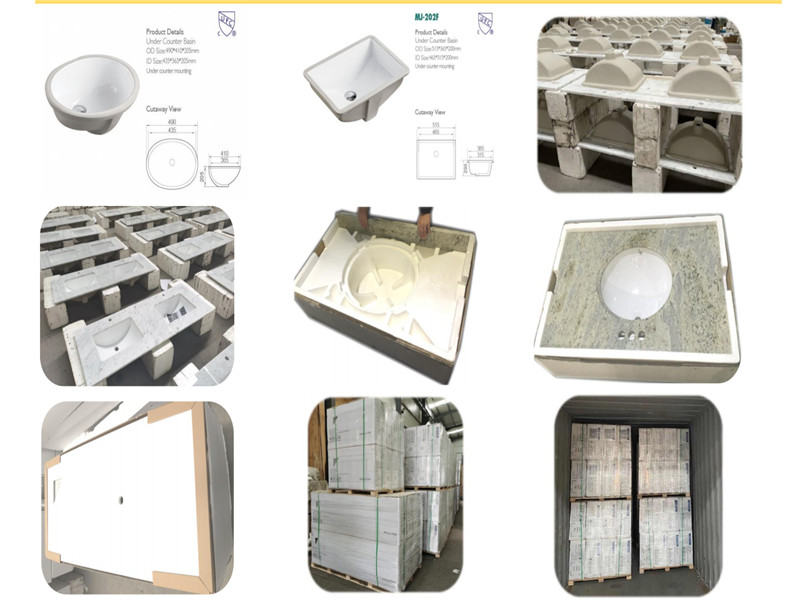
Pls check some pics below.As you can see,the sink was pre-installed,it can be oval sink and square sink,one sink and double sinks.There is 1 back splash included.Sides splash can be supplied too.
What is the advantage of “all in one”vanity top?
1)QUICK INSTALLATION
2)SAFE PROTECTION
3)LABOR-COST SAVED
4)CONVENIENT TRANSPORT

Specification of “all-in-one”vanity top:
1·Natural Granite&Marble&Artificial Quartz
2·Thickness 18MM/20MM/30MM
3·Back splash/Side splash:4” high(included)
4·Polished front,left,right,and top
5·Pre-drilled faucet spread:4” or 8”(straight)
6·Pre-installed undermount white ceramic sink
7·Single or double sink is available
8·Oval or rectangle sink is available
9·Individually packed in styrofoam and carton box
10·Eight carton box each wooden pallet
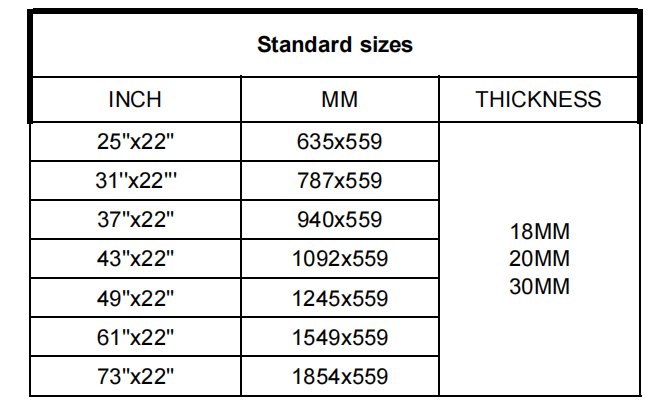
For more information about this product,pls download our brochure for free.Also you can contact with us directly for more quick reply.
Pls check some pics below:
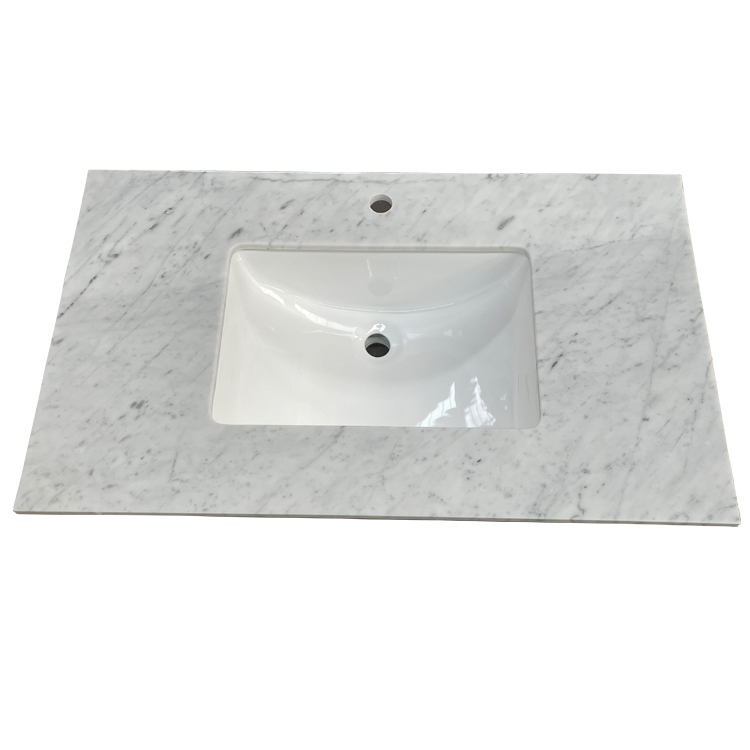
Update Your Vanity Top.Follow the steps below to remove your existing vanity top and upgrade your bathroom with the new one.
Step 1:Measure the vanity
Measure the vanity base with a tape measure and write down the measurements. Buy your new vanity top according to these measurements. The vanity top you choose will depend on the space available and your personal taste. Some vanity tops have the sink bowl built in, while others have an opening cut out, ready to accept the sink bowl of your choice.
Step 2:Turn off the water
Turn off the main water supply to the bathroom.
Step 3:Disconnect the drain pipe
Disconnect the drain pipes from the existing sink unit using a pipe wrench. Then disconnect the supply lines from the existing faucet assembly on the sink using an adjustable wrench.
Step 4:Remove the clips
Reach inside the vanity base and use a screwdriver to remove the securing clips holding the vanity top in place. Lift the old vanity top from the sink base and set it aside.
Step 5:Check pipes and lines
Check existing drain pipes and water supply lines for damage. Replace them if necessary before you begin installing the new vanity unit.
Step 6:Level the base
Place a level on the top edges of the vanity base and check that it’s level from side to side and front to back. Place shims under the vanity base as necessary to make the unit level. Cut off excess shims using a utility knife so that it’s even with the side of the base.
Step 7:Secure the top
Place the top on the vanity base and center it. Secure the top to the base using a screwdriver and the hardware that came with the vanity. Install the new faucet assembly on the vanity top following the manufacturer’s instructions for the brand and model you’re using.
Step 8:Add the new faucet
Connect the water supply lines to the new faucet assembly and tighten the fittings with an adjustable wrench. Connect the tailpiece on the sink to the drain pipe, and tighten the locking collar using an adjustable wrench.
Step 9: Add caulk
Place a bead of caulk around the edges of the vanity top using the caulking gun. If your bath vanity top has a separate sink bowl, place a bead of caulk around the edges of the sink bowl as well. This will prevent water from leaking onto the vanity top and damaging it.
Step 10:Turn on the water supply
Turn on the bathroom water supply. Run water into the sink bowl and check the drain pipes and water supply lines for leaks
